Pages

Showing posts with label Cakes. Show all posts

Tuesday, June 28, 2011

Mini Strawberry Cheesecakes


The first time I tried cheesecake (New York-style, I believe), I enjoyed it but wasn't blown away. The more I tried, though, the more I fell in love with this creamy dessert. Making them, however, is a different story. I rarely have enough people in the house to finish a whole cheesecake, and most recipes I've encountered call for a copious amount of cream cheese. Not that I have anything against cream cheese, but I have a slight aversion towards using too much dairy products in one recipe (OK, it's because they're fattening!). Another reason I don't make cheesecakes more often is the need for a bain marie, and the fact that my first ever cheesecake cracked despite following all the instructions closely has discouraged me from trying again.


All excuses aside, I recently found a recipe for delicious mini cheesecakes that is both easy and uses a reasonable amount of cream cheese. The mini size of these treats means that baking time is shorter, and this eliminates the need for a bain marie which is used to maintain an even temperature when baking regular-sized cheesecakes. The miniature size also means you don't have to feel guilty for having one! Although from my experience it was a lot easier to pop a couple of these into my mouth than to slice myself the same amount of a regular cheesecake, yikes...


I'll definitely be making these again since they are so easy to whip up, and the fruit filling can be substituted with whatever is available. This doesn't mean I've given up on making regular-sized cheesecakes, though, since Julie at Willow Bird Baking makes it look so easy!

Mini Strawberry Cheesecakes
yields approx. 15-18 mini cakes
adapted from Cook's Country Magazine (original recipe here)

Crust:
1 cup graham cracker crumbs
5-6 tablespoons butter, melted

Filling:
1 pkg / 8 oz cream cheese, softened
1/2 cup sweetened condensed milk
1/2 cup strawberry jam, at room temperature
2 large eggs, at room temperature

1. Preheat oven to 300 degrees Fahrenheit. Line 2 muffin tins with paper liners.

2. For the crust: mix the melted butter with the graham cracker crumbs until well blended. Place a tablespoon of the crust mixture on each paper liner.

3. Place a small dollop of jam on top of each crust.

4. For the filling: beat the cream cheese until fluffy, about 2 minutes. Then add the condensed milk, and after it is mixed in, add the eggs one at a time. Beat the mixture until smooth. Divide the filling evenly between the prepared cheesecake crusts.

5. Bake for about 20 minutes, until the filling has set. Remove from the oven, and cool for 10-15 minutes.

6. Pop in the refrigerator for at least 30 minutes, and enjoy cold!

Tuesday, May 10, 2011

Something Fit for Spring


Sometimes I wish, just once, I could stumble upon a recipe for something wonderful(ly impressive) and make it right then and there, without the disappointment of finding out that I'm missing a couple of ingredients and bookmarking said recipe for another day. I also wish I have the appropriate crowd to whom I could feed my creations. Sadly, most of the time I have neither a pantry full of atypical ingredients nor a band of people waiting for baked goods!


All the wishing aside, here is a cake I baked not so recently. This is another butter pound cake similar to the marble cake I made previously, but not as rich and heavy due to the tang from the lemon. I think this combination of lemon and green tea, typically only found in drinks, works very well together in a cake. Coincidentally, the colours of the cake are very fitting for a spring! Maybe for a tea party? I also used some whole wheat flour on a whim, and I think it worked pretty well. I used just enough to give the cake a wholesome taste instead of using it to be healthy. And for those looking for an excuse to have cake for breakfast, here it is: this cake has whole wheat (healthy), lemon (healthy), and green tea (again, healthy!). ;)


Lemon Matcha Pound Cake
adapted from Joy the Baker
yields 1 10-inch bundt cake

2 cups all-purpose flour
2/3 cup whole wheat flour
2 1/2 tsp baking powder

1/4 tsp salt
scant 2 1/3 cups sugar
1 tsp vanilla extract
6 large eggs, at room temperature
2/3 cup plain yogurt
scant 1 cup butter, melted
zest of 1 lemon
juice of 1/2 lemon
1 tbsp matcha powder

1. Place the oven rack in the centre. Preheat the oven to 350ºF.

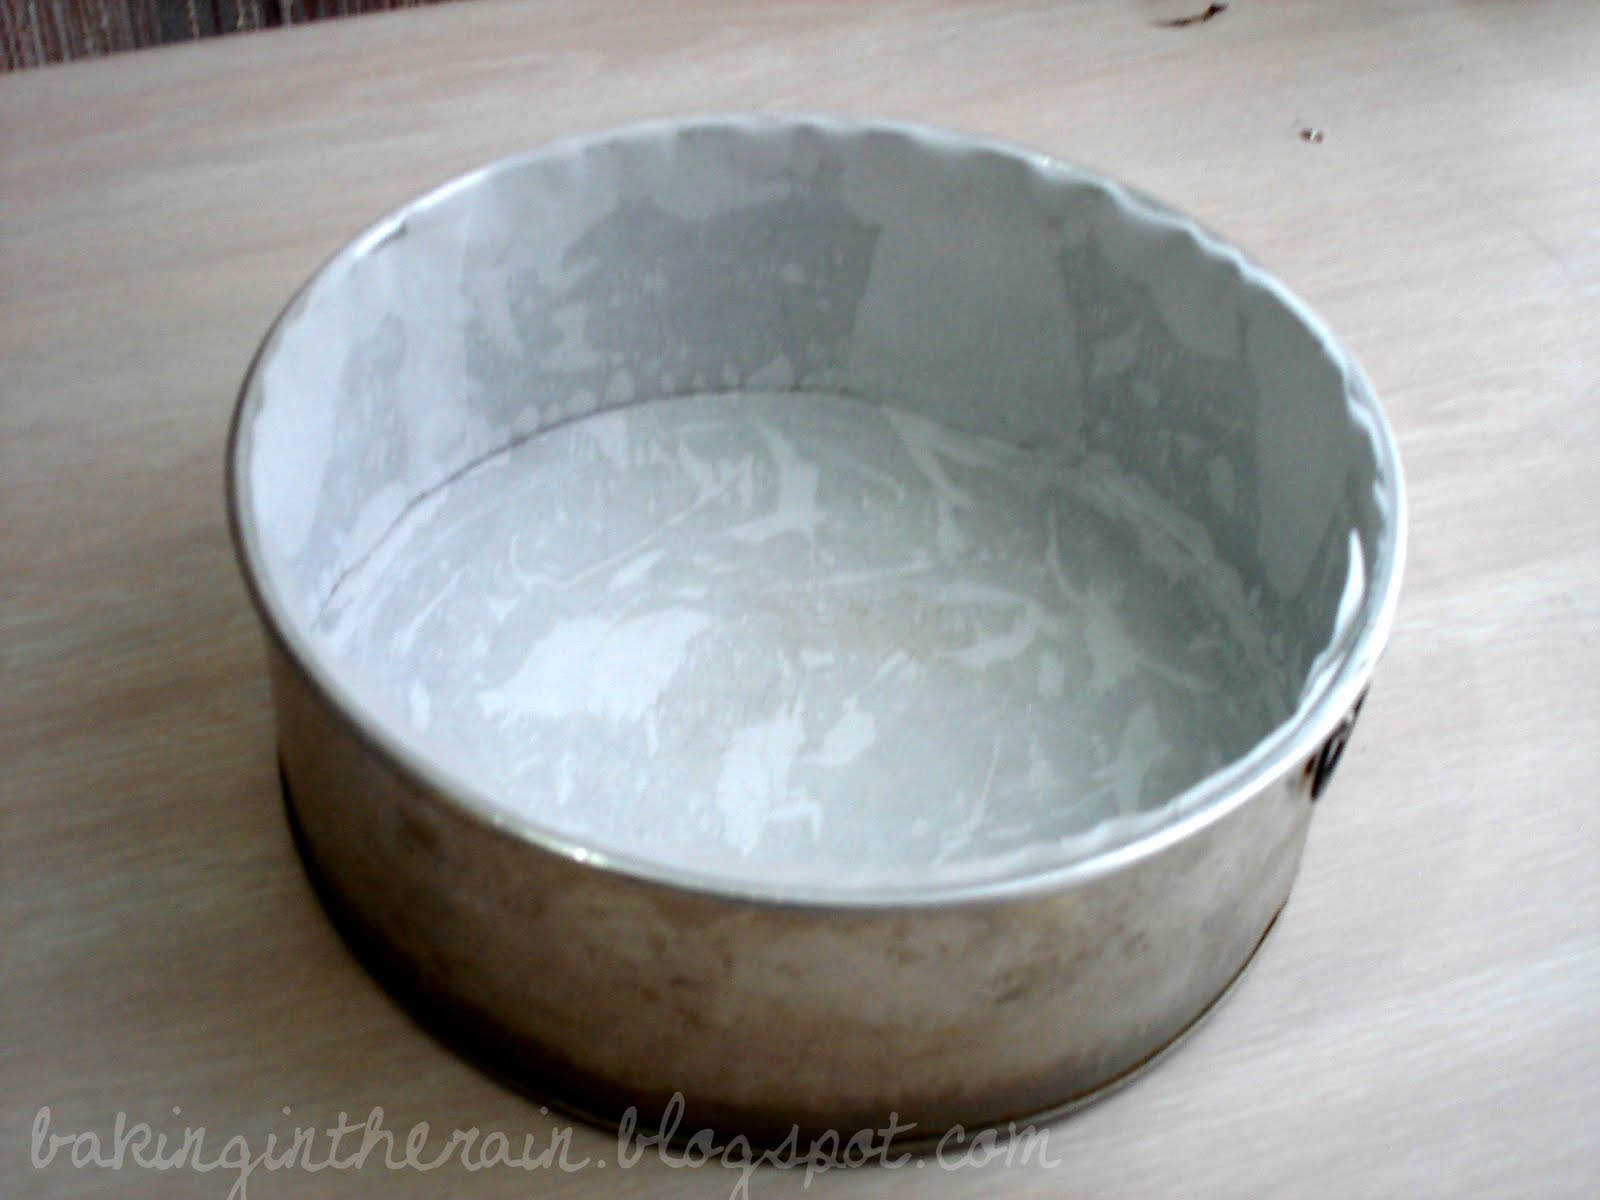
2. Grease the pan and then cover completely with flour. Remove the excess.

3. Sift the flours, salt, and baking powder.

4. Whisk the eggs and sugar well. Add the vanilla extract and continue mixing. Then add the yogurt, and mix everything well.

5. Add the dry ingredients from step 3 to the egg mixture.

6. Fold in melted butter in 3 additions.

7. Divide the batter into two portions. Add the lemon zest and lemon juice to one portion, and add matcha powder to the other portion.

8. Pour some lemon batter in the pan, then pour some matcha batter. Keep alternating until everything is used up. Gently mix the two batters with a knife to create a marbled pattern. Don't go overboard with the swirling!

9. Bake the cake for 60-65 minutes.

10. When done, cool the cake for about 20 minutes, then invert the cake and allow to cool on a metal rack.

Sunday, April 24, 2011

Simple is Best


For some reason towards the end of the school year, I always go into a baking frenzy. It may be because I suddenly have more free time on my hands, but I think a lot of it is because I'm bored of the school stuff and need a distraction. This year is not unlike previous years, and these past few weeks I've been baking more than I did in the past few months.

Normally at this time of the year I'd be pretty stressed out from end-of-term projects and the looming final exams, so I tend to go for recipes that are quick and easy to whip up. Bonus points if they yield a huge batch so I have more for snacking! With this  in mind, recently I tried these recipes that turned out to be very simple to make and yet so satisfying, making them perfect for easy snacks.


The first one is Japanese steamed egg buns, or mushi pan. I find that these are more cake-like instead of being a true bread. They are sweetened with condensed milk, and the result is a moist, lightly sweet treat that is great for snacking. Steam-baking is something I had never tried prior to making this recipe, but it's just as easy as popping something in the oven as long as you use a large steamer and not an itty-bitty one like I did (I had to steam the buns two at a time!).


The second recipe I tried is for a simple yogurt cake. This is a very versatile recipe as you can jazz it up with whatever flavouring(s) you desire, or you can leave it plain if you prefer to keep things simple. I had some ripe strawberries, so after I poured half of the batter into the pan, I arranged strawberry slices on top, and poured the remaining batter to hide the strawberries. The hidden fruits provided some colour to an otherwise plain cake. The cake itself is great: moist, light, and not too sweet. It's a good anytime-of-the-day cake that I will be making again (with different variations) in the future.

Sunday, April 10, 2011

Happy Anniversary!


 It just occurred to me today that this blog is now 1 year old! Documenting all of my baking endeavours has been an interesting experience, and one that I still need to improve upon - especially my photography & food styling skills. However, it has been a lot of fun, and I plan on continuing indefinitely. :)

It's always nice to have cake for celebrations, so I present to you a chocolate bundt cake I recently made for a dinner party. This cake was super easy to make, i.e. no mixer required, which is something I always appreciate. The result is a very light, moist and chocolatey cake, thanks to the addition of yogurt and lots of chocolate, plus coffee to help bring out the chocolate flavour. Tastewise, it is not very sweet, so the ganache is a welcome addition to help sweeten the cake. However, at the party we served the cake alongside vanilla ice cream sundaes, so for that purpose the ganache could have been omitted. 
Chocolate Bundt Cake
yields 1 10-inch cake
adapted from Food and Wine (via Cookie Madness)

Cake:
56 grams (2 oz) bittersweet chocolate
3/4 cup vegetable oil
1 cup sugar
1 large egg (at room temperature)
1 tsp vanilla extract
2 cups all-purpose flour
1/2 cup Dutch-processed cocoa powder
1 tbsp baking soda
3/4 tsp salt
1 cup strong-brewed coffee
1 cup buttermilk (at room temperature - I used plain yogurt)

1. Preheat the oven to 350ºF. Grease a 10-inch bundt pan and coat evenly with some cocoa powder.

2. Melt the chocolate in the microwave. Let cool. Add the oil and sugar, whisk in until smooth, then whisk in the egg and vanilla extract.

3. In another bowl, mix together the flour, cocoa powder, baking soda and salt.

4. Add half of the dry ingredients from step 3 to the chocolate mixture (step 2) along with 1/2 cup coffee and 1/2 cup buttermilk. Whisk until smooth.

5. Add the remaining dry ingredients, coffee, and buttermilk to the mixture. Mix again until the batter is smooth.

6. Pour the batter into the prepared pan. Bake in the lower third of the oven for about 45 minutes or until a toothpick inserted into the cake comes out clean.

7. Cool on a metal rack for 10 minutes before inverting the cake.

Glaze:
85 grams (3 oz) bittersweet chocolate
1/3 cup heavy cream
1/2 tbsp corn syrup (I used Lyle's Golden Syrup)
1/2 tbsp unsalted butter

1. Bring the heavy cream to a boil in a saucepan.

2. In a bowl, combine the chocolate, syrup, and butter. Pour the hot cream over the mixture and let everything melt together for about 5 minutes. Whisk the mixture until it's smooth.

3. Allow the ganache to cool for about 5 minutes until it is thick, smooth and at a pourable consistency.

4. Pour glaze over cake and let it set for at least 30 minutes.

Monday, January 31, 2011

Japanese Style Cheesecake, Take 2


Before I forget, I just wanted to post my second attempt at making the Japanese cheesecake I tried earlier. I didn't make it at home so the only pans I had access to were loaf pans. I also substituted a few ingredients that I couldn't find (white vinegar for lemon juice and tapioca starch for corn starch). The cake probably would've been more fragrant with lemon juice, but otherwise the substitutions didn't ruin the cake. I used a proper water bath this time, but funnily enough my first attempt didn't have cracks, and these ones did, likely due to the oven being too hot. Strangely enough, since they were baked in loaf pans the cracks didn't look out of place (just Google image "loaf cakes" and you'll see what I mean).

Monday, September 6, 2010

Tuxedo Truffle Mousse Cake

I can't believe it's already September and summer is over! For the past few weeks I have been working and also enjoying my summer, so that means going out a lot and no baking. Now that the weather is starting to cool down and school is starting, I will be baking a lot more as a way to procrastinate from studying. ;)

First things first, recently fashion blogger Solo Lisa held a giveaway on her blog, and I won! Even though I have a baking blog, I follow mostly beauty/fashion blogs. If I had a better sense of style I probably would have one of those myself, but alas I'm better at baking so that's all you'll be seeing from me. =P Anyway, if fashion blogs is your thing, do check out Lisa's!

Now on to baking! Last year, for his birthday, my boyfriend asked me to make a "tuxedo cake". Having never heard of such a cake before, I turned to Google for help. Most of the results are of cakes shaped like a tuxedo, but I did come across this recipe for "tuxedo cake". Since I didn't know better, that was the cake I made.


Needless to say, it was the wrong kind of tuxedo cake. Last Christmas, I found out that the real tuxedo cake that my boyfriend wanted is the tuxedo truffle mousse cake sold at Save-on-Foods! Had I known this last year, I probably would've bought one to try first and then attempted to recreate it. So to redeem myself, this year I promised that I would make the real version. His birthday was in July so this post is terribly late, but it's better than never.


The cake turned out really good and tasted pretty much like the storebought version. My cake ended up being pretty messy, since I didn't have a rectangular mold to keep everything in the right shape, so I just had to make do with what I have. To be honest though, I would rather shell out the $20 or however much it costs to get one of these in store, because this cake is really time consuming to make. I had to bake the cake in advance (at least 1 day earlier), and it took another day to make the mousses and assemble the whole thing, while creating a lot of mess in between. However, it was a good experience to make something more complicated than usual, and at least now I know that I can recreate a storebought cake.

Tuesday, August 3, 2010

Japanese Style Cheesecake


My first encounter with Japanese cheesecake was a few years back through the Miki Ojisan no Mise (ミキおじさんの店) chain that is available in several Asian countries. Japanese cheesecake is probably best described as soft and cottony, and a lot more like cheese-flavoured sponge cake rather being dense and rich. I love all kinds of cheesecakes, but the Japanese one is a little bit more guilt free than your regular New York style cheesecake.

This cake is definitely more time-consuming than regular NY cheesecakes where you just make the crust and dump the ingredients for the filling in a mixing bowl. However, the results are worth it; the cake has a mild cheese flavour and it's light, so you can have more than one (or in my case, most of it!) without feeling too guilty.


Unfortunately this cake didn't turn out perfect on my first try; I neglected to use a springform pan because I thought that the cake would not stick, since I had already painstakingly lined the pan with parchment paper. However, I forgot that I would have to invert the cake, and I did so on a bare plate (as opposed to one lined with parchment paper), so the top golden brown layer stuck to the plate!! It was very devastating, as the top layer was actually very delicious. So my cake ended up being naked and pale, although it was still very good.


So here are my tips: do use a springform pan to save yourself a lot of trouble and tears, and make sure you melt the cream cheese well, as any lumps that remain will sink to the bottom of the cake and get in the way of the desired smooth texture.


Japanese Style Cheesecake

adapted from Diana's Desserts

250 g/9 oz cream cheese
50 g/2 oz butter
100 mL milk
6 large eggs, separated
60 g/2 oz cake flour
20 g/1 oz cornstarch
140 gr/5 oz granulated sugar
1 tbsp lemon juice
1/4 tsp cream of tartar
1/4 tsp salt

Prepare a 8" round baking pan by greasing and lining it with parchment paper.

Preheat the oven to 325ºF.

Melt cream cheese, butter and milk in a double boiler until there are no lumps. Then cool this cream mixture by placing the bowl/pot in another bowl filled with cold water.

In a medium bowl, add cream of tartar to the egg whites. Whisk until the whites are foamy. Add the sugar, and whisk again until the soft peak stage is achieved.

To the cream mixture, mix in egg yolks, salt, and lemon juice. Then gently sift the flour and cornstarch into this mixture.

Add the flour mixture into the egg whites gradually, and mix gently until everything is combined.

Pour the batter into the prepared pan.

Prepare a bain-marie and place the cake pan in it; I used a large pan and filled it with enough water to make the cake pan float.

Bake in the preheated oven for 1 hour and 10 minutes or until the top is golden brown.

Take out the cake pan from the bain marie and cool the cake completely in the pan on a metal rack before serving.


Monday, June 7, 2010

Apple Brown Sugar Coffee Cake


Over the long Victoria Day weekend, I went on a trip and stayed at a quaint bed and breakfast. The trip was to explore the city of Victoria, BC, but a big part of me was excited to be staying at a B&B instead of a typical hotel like I'm used to. Obviously I was mostly excited about the gourmet breakfast; I seriously love breakfast foods (eggs, bacon, pastries and other baked goods, yummmm!) and I always abuse the breakfast buffets at hotels whenever I go on vacation. Anyway, at the particular B&B we went to, their specialty was eggs Benedict, and they also serve freshly baked muffins for the guests while they wait for the gourmet breakfast to be cooked. I had expected all of these after reading reviews online prior to my trip, but what caught me off guard was a very delicious apple coffee cake that they served!

I actually never really had coffee cake before, and this one was so simple but delicious. What I liked the most was the apple filling it had. Unfortunately, I neglected to ask for the recipe or even the name of the cake, so I had to scour for recipes myself. I googled "apple coffee cake" and this cake is one of the first few results, so I decided to try it.

This cake is moist and even more delicious after the next day, but I find it a little on the sweet side. Brown sugar is the major ingredient here; it shows up in the cake, the streusel, and the glaze. If I were to make this again, I think I would just skip the glaze, and maybe reduce the streusel proportions, since it yielded quite a lot. (BTW, I know the picture below looks far from appetizing, but it tasted MUCH better than it looked!)


By the way, this turned out very different from the cake I had at the B&B, because after asking around at Bake Bake Bake, I found out that what I was looking for is really the Apple Pie Coffee Cake. D'oh! That's okay, it'll be the next coffee cake I make!

Apple Coffee Cake with Crumble Topping and Brown Sugar Glaze
recipe from Emeril Lagasse
yields 1 9x13-inch cake

Cake ingredients:
1 stick + 2 tsp unsalted butter
1 1/2 cups packed light brown sugar
2 eggs
2 cups all-purpose flour
1 tsp baking soda
1 tsp cinnamon
1/2 tsp salt
1 cup sour cream
1 tsp vanilla extract
2 cups apples (peeled, cored, and chopped)

Streusel ingredients:
1/2 cup packed light brown sugar
1/2 cup all purpose flour
1/2 tsp cinnamon
4 tsp unsalted butter, softened

Glaze ingredients:
1/2 cup packed light brown sugar
1/2 tsp vanilla extract
2 tbsp water

Preheat the oven to 350 degrees F. Lightly grease a 13 by 9-inch glass baking dish with 2 teaspoons of the butter.

In a large bowl, cream together the remaining stick of butter and sugar until light and fluffy. Add the eggs 1 at a time, beating after the addition of each. In a separate bowl or on a piece of parchment, sift together the flour, baking soda, cinnamon, and salt. Add to the wet ingredients, alternating with the sour cream and vanilla. Fold in the apples. Pour into the prepared baking dish, spreading out to the edges.

To make the topping, in a bowl, combine the sugar, flour, cinnamon, and butter, and mix until it resembles coarse crumbs. Sprinkle the topping over the cake and bake until golden brown and set, 35 to 40 minutes. Remove from the oven and let cool on a wire rack for at least 10 minutes.

To make the glaze, in a bowl, combine the sugar, vanilla, and water and mix until smooth. Drizzle the cake with the glaze and let harden slightly. Serve warm.

Monday, May 24, 2010

Golden Lemon Almond Cake


My favourite type of baked goods is definitely cake. If I could survive on cakes alone, I probably would. Recently I had borrowed a copy of Rose's Heavenly Cakes from the public library because Rose Levy Beranbaum is well-known for her cakes, and I wanted to browse through a more modern version of her cake book (versus her Cake Bible, which is a great resource but quite a bit older). Most of the cakes in the publication simply made me want to try them all, but being busy with summer school means I do not have all the time in the world to compose cakes that take a few days to prepare, no matter how delicious they may be. Moreover, these days there have not been any special occasions for which I could bake a cake, so I had to keep it simple.

Having had success with the marble cake which I previously made only increased my love for butter cakes baked in Bundt pans, so I decided to bake something from the "Butter/Oil Cakes" section of the book, and I settled on the Golden Lemon Almond Cake. I chose this cake because I wanted something that is not chocolate (for once), and since I love lemon and almonds, what could go wrong, right?

This cake is very lemony from the double dose of lemon in the batter (I substituted fresh lemon juice for the lemon oil, since the latter seems to be a specialty ingredient and the recipe only needed a very small amount) and the lemon syrup which you brush on while the cake is cooling. The almond flavour of the cake is also quite pronounced, especially since I accidentally burned some of the almond while I was toasting them (whoops!). Overall, this was a very good cake that is a nice change from chocolate. Next time I make this, however, it would have to be for a crowd, because I refuse to finish most of the cake by myself again!

Here's the recipe for this cake, though if you love cakes you should definitely check out Rose's books if you haven't already. I also discovered Heavenly Cake Baker's blog, which is on a mission to bake all of the cakes in Rose's Heavenly Cakes. I love going through the entries to read someone else's firsthand experience baking the lovely cakes in the book, especially some of the more intricate ones!

Thursday, May 6, 2010

Buttery Goodness Part 1: Marble-ous Cake


I don't remember how, but months ago I stumbled upon this recipe for a marble butter cake, and I immediately wrote it down on my "to-bake" list. The cake looked so moist and yummy, and there was also something about Bundt cakes that appeal to me. Unfortunately, I didn't own a bundt pan so I didn't get around to making this cake until last week, when I saw that my local Safeway had Nordic Ware pans on sale. I decided to snap it up and make this cake that same weekend, even though I was totally busy with exams. I also underestimated the amount of time this cake needs from start to finish; I "wasted" 2 hours that could have been used to study, but hey, I needed the break.

This recipe yields a lot of batter that even my 12-cup Bundt pan had trouble containing it all. I had to pop this cake back in the oven a few more times after the suggested baking time of 60 minutes. When it was finally done and cooled, I almost had doubts about this cake because nothing about it really stood out, but the next day, this cake's flavour has completely developed and it turned addictive. I loved the buttery flavour, and my favourite part has got to be the lovely brown crust. I really like butter cakes a lot more than oil-based cakes, which is why I didn't really like the yellow cake I made in my previous post. This recipe has tons of butter (I used a little more than the recipe calls for, but only because I had 18 grams extra!) and dairy products (i.e. not figure-friendly), but what the heck, I needed the energy for studying.

For the chocolate batter, I used Valrhona Manjari and did not add any cocoa powder. I was debating whether or not I should, and in the end I decided not to because I wanted to see how strong the chocolate flavour would be. Turns out I really should have added some cocoa; the chocolate flavour was very subtle and cocoa would have been able to add more depth to it. I'm actually on the fence about Valrhona Manjari's flavour; I'd like to try the Guanaja variety next time and compare it to Manjari.


Marble Cake
recipe from House of Annie
yields 1 12-cup Bundt cake

Ingredients
12 oz / 340 gr unsalted butter, softened
6 large eggs
1 1/2 tsp vanilla extract
1/2 tsp salt
1/2 tsp baking powder
1/2 tsp baking soda

3 cups all-purpose flour
1/2 cup plain yogurt
1/2 cup milk
100 gr chopped semi-sweet chocolate
1 tbsp cocoa powder

1. Preheat the oven to 325ºF and grease the Bundt pan.

2. Put chocolate in a dry, clean bowl and melt in microwave oven in 30-second intervals, stirring till you get a smooth paste. Remove and let cool a little.


3. Cream together butter and sugar till mixture is fluffy and sugar has been cut in well.

4. Add eggs, one at a time. Beat on med-high speed for about 20 seconds after each egg, and scrape down before adding the next one.

5. Add the vanilla and mix to combine.


6. Combine the dry ingredients in a bowl. Add them in three portions, alternating with the yogurt and the milk (i.e. 1/3 dry ingredients, yogurt, 1/3 dry ingredients, milk, final third dry ingredient). Stir the batter after each addition, making sure there are traces of flour or yogurt.

7. Take out about half of the vanilla cake batter and drop it around the Bundt pan.

8. To the remaining batter in the mixing bowl, dd the melted chocolate and cocoa powder. Mix well until there are no more white streaks.

9. Drop the chocolate batter between the white batter in the Bundt pan.

10. Swirl the batter together to obtain the marble design. Do not overmix because you will lose the marbling pattern.

11. Bake for about 60-75 minutes. Test the cake for doneness using a skewer (if cake is done, skewer should come out clean). Cool the cake on a cooling rack before slicing.

Saturday, April 10, 2010

Banana & Chocolate Chip Upside Down Cake


I LOVE chocolate. I dislike most candies, so ever since I was little, the only sweets I would eat have been mostly chocolate. I also love bananas; I bring them to school every day as part of my lunch. When David Lebovitz blogged about his upside down banana & chocolate cake, I knew I had to try it. I waited until I had bananas that were ripe enough, but I only had 2 in such a condition, so I had to get a bunch more of extra ripe bananas from the store. Luckily I was able to find some amongst a sea of still-green bananas!

This cake was very easy to make, and no mixer was required (my favourite kind of recipes!). I used plain yogurt instead of sour cream because I needed yogurt for another recipe I wanted to try, but I don't think it would have made much of a difference. The result was very moist and full of banana flavour with chocolate chunks studded in every bite. Although my sister complained that there was a little too much chocolate (absurd, I know), my boyfriend & I loved it. It was good on its own but I can imagine it would be even better served with vanilla ice cream, as per David's suggestion.

Banana Chocolate Chip Upside-Down Cake
makes one 8-inch (20 cm) square cake
recipe from David Lebovitz


For the topping:
1/3 cup plus 2 tablespoons packed brown sugar
2 tablespoons water
3-4 ripe medium bananas
a few drops of lemon juice


For the cake:
1 1/2 cups flour
1 teaspoon baking powder
1/2 teaspoon baking soda
1/2 teaspoon salt
1 teaspoon ground cinnamon
3/4 cup granulated sugar
2 tablespoons melted butter
2 eggs
1 cup banana puree (about 2 bananas)
1/2 cup plain yogurt
1/2 teaspoon vanilla extract
1/2 cup (80 g) chopped bittersweet or semisweet chocolate


1. Make the topping: place brown sugar & water in an 8-inch square cake pan. Warm the pan on the stove top over low heat and stir until sugar is thoroughly moistened. Simmer for about 1 minute. Remove from heat and let it cool to room temperature.


2. Peel and slice the bananas in 1 cm slices. Arrange them on top of the melted brown sugar. Sprinkle with a few drops of lemon juice.


3. Preheat the oven to 350ºF.


4. Whisk together the flour, baking powder, baking soda, salt, and cinnamon in a large bowl, making sure there are no lumps. Mix in the granulated sugar.


5. In a separate bowl, mix together the butter, eggs, banana puree, yogurt, and vanilla.


6. Make a well in the center of the dry ingredients and stir in the wet ingredients until almost combined. Do not overmix. Gently fold in the chocolate pieces.


7. Scrape the batter into the pan over the bananas, then use a spatula to carefully spread the batter evenly.


8. Bake for 40 minutes, or until the cake feels just set in the center when you touch it.


9. Cool the cake for about 20 minutes, then run a knife along the edges of the cake to help it release from the pan. Invert the cake onto a serving platter.