
Saturday, November 27, 2010
Apologies!
I don't know if anybody will even read this, but regardless, please excuse the lack of recent content in this blog. I feel bad for neglecting it since September; I've just been swamped with things to do (mostly school-related) these past few months, and I haven't had time to bake and properly document them since 2 months ago. :( However, there's only one week left until this semester ends, and a few more weeks left until winter break starts, so I will be churning out new content soon!

Monday, September 6, 2010
Tuxedo Truffle Mousse Cake
I can't believe it's already September and summer is over! For the past few weeks I have been working and also enjoying my summer, so that means going out a lot and no baking. Now that the weather is starting to cool down and school is starting, I will be baking a lot more as a way to procrastinate from studying. ;)
First things first, recently fashion blogger Solo Lisa held a giveaway on her blog, and I won! Even though I have a baking blog, I follow mostly beauty/fashion blogs. If I had a better sense of style I probably would have one of those myself, but alas I'm better at baking so that's all you'll be seeing from me. =P Anyway, if fashion blogs is your thing, do check out Lisa's!
Now on to baking! Last year, for his birthday, my boyfriend asked me to make a "tuxedo cake". Having never heard of such a cake before, I turned to Google for help. Most of the results are of cakes shaped like a tuxedo, but I did come across this recipe for "tuxedo cake". Since I didn't know better, that was the cake I made.

Needless to say, it was the wrong kind of tuxedo cake. Last Christmas, I found out that the real tuxedo cake that my boyfriend wanted is the tuxedo truffle mousse cake sold at Save-on-Foods! Had I known this last year, I probably would've bought one to try first and then attempted to recreate it. So to redeem myself, this year I promised that I would make the real version. His birthday was in July so this post is terribly late, but it's better than never.


The cake turned out really good and tasted pretty much like the storebought version. My cake ended up being pretty messy, since I didn't have a rectangular mold to keep everything in the right shape, so I just had to make do with what I have. To be honest though, I would rather shell out the $20 or however much it costs to get one of these in store, because this cake is really time consuming to make. I had to bake the cake in advance (at least 1 day earlier), and it took another day to make the mousses and assemble the whole thing, while creating a lot of mess in between. However, it was a good experience to make something more complicated than usual, and at least now I know that I can recreate a storebought cake.
First things first, recently fashion blogger Solo Lisa held a giveaway on her blog, and I won! Even though I have a baking blog, I follow mostly beauty/fashion blogs. If I had a better sense of style I probably would have one of those myself, but alas I'm better at baking so that's all you'll be seeing from me. =P Anyway, if fashion blogs is your thing, do check out Lisa's!
Now on to baking! Last year, for his birthday, my boyfriend asked me to make a "tuxedo cake". Having never heard of such a cake before, I turned to Google for help. Most of the results are of cakes shaped like a tuxedo, but I did come across this recipe for "tuxedo cake". Since I didn't know better, that was the cake I made.

Needless to say, it was the wrong kind of tuxedo cake. Last Christmas, I found out that the real tuxedo cake that my boyfriend wanted is the tuxedo truffle mousse cake sold at Save-on-Foods! Had I known this last year, I probably would've bought one to try first and then attempted to recreate it. So to redeem myself, this year I promised that I would make the real version. His birthday was in July so this post is terribly late, but it's better than never.


The cake turned out really good and tasted pretty much like the storebought version. My cake ended up being pretty messy, since I didn't have a rectangular mold to keep everything in the right shape, so I just had to make do with what I have. To be honest though, I would rather shell out the $20 or however much it costs to get one of these in store, because this cake is really time consuming to make. I had to bake the cake in advance (at least 1 day earlier), and it took another day to make the mousses and assemble the whole thing, while creating a lot of mess in between. However, it was a good experience to make something more complicated than usual, and at least now I know that I can recreate a storebought cake.
Tuesday, August 17, 2010
Matcha Tiramisu

I've probably said this before, but in the scorching August heat, it's safe to say that I want to stay as cool as possible and avoid using the oven. (I made an exception for my boyfriend's birthday cake, which will be talked about in the next post.) So when I had a housewarming party to attend a few weeks ago, I chose to make green tea tiramisu, the recipe for which I saw on House of Annie a while back. Before choosing to go with this particular recipe, I considered making either this chocolate bundt cake which has been on my to-bake list for some time, or this strawberry cheesecake tiramisu, which would take advantage of summer berries. But the former would mean having to use the oven, and the latter didn't win simply because I'm loving all sorts of green tea desserts these days. Plus, I simply love the pastel green colour that matcha powder imparts.
Since this recipe requires no baking, all I had to do was make the zabaglione component and assemble the dessert, which is the most time-consuming part of this recipe. I doubled the original recipe to fit an 8.5" round springform pan, and used 2 1/2 packs of ladyfingers. Here's a not-so-funny (for me) story: I decided on this recipe at the last minute and didn't have time to prep until the day of the party, so I spent hours in the morning running around town to search for ladyfingers, because my neighbourhood Safeway only had 1 pack left! That ought to teach me to plan better!

This dessert is definitely not something that's low in fat (just look at the ingredients!) but that means it's a suitable dessert to share at a party, and there was just enough for everybody, which means there was no opportunity to indulge in seconds!
Matcha (Green Tea) Tiramisu
adapted from House of Annie
Biscuit component:
Ladyfinger biscuits (I used 2.5 200-gr packs)
~1.5 cups brewed green tea, cooled
Zabaglione component:
6 egg yolks
scant 1 cup sugar
500 gr mascarpone cheese
3 tsp matcha powder
2 cups heavy cream
1 1/2 tsp vanilla extract
Beat the egg yolks and sugar in a double boiler until it is pale yellow and doubled in volume. Cool the mixture in a cold water bath.
Beat the mascarpone cheese until it is smooth and creamy. Add matcha powder gradually, and mix well after each addition.
Fold the mascarpone mixture into the egg yolk mixture.
Whip the heavy cream, and mix it into the mascarpone mixture.
Assembly:
Line the sides of an 8.5" (or similar) springform pan with ladyfingers.
Dip both sides of ladyfingers in green tea and line the bottom of the springform pan. Do not dip for too long or the ladyfingers will be soggy.
Spread some of the zabaglione mixture on top of the ladyfingers until they are completely covered.
Top with more soaked ladyfingers, and layer on more zabaglione. Do this step 2 more times with the final layer being the zabaglione mixture.
Chill in the fridge for at least 3-5 hours or overnight.
Before serving, dust with matcha powder or icing sugar, or both.
Tuesday, August 3, 2010
Japanese Style Cheesecake

My first encounter with Japanese cheesecake was a few years back through the Miki Ojisan no Mise (ミキおじさんの店) chain that is available in several Asian countries. Japanese cheesecake is probably best described as soft and cottony, and a lot more like cheese-flavoured sponge cake rather being dense and rich. I love all kinds of cheesecakes, but the Japanese one is a little bit more guilt free than your regular New York style cheesecake.
This cake is definitely more time-consuming than regular NY cheesecakes where you just make the crust and dump the ingredients for the filling in a mixing bowl. However, the results are worth it; the cake has a mild cheese flavour and it's light, so you can have more than one (or in my case, most of it!) without feeling too guilty.


Unfortunately this cake didn't turn out perfect on my first try; I neglected to use a springform pan because I thought that the cake would not stick, since I had already painstakingly lined the pan with parchment paper. However, I forgot that I would have to invert the cake, and I did so on a bare plate (as opposed to one lined with parchment paper), so the top golden brown layer stuck to the plate!! It was very devastating, as the top layer was actually very delicious. So my cake ended up being naked and pale, although it was still very good.
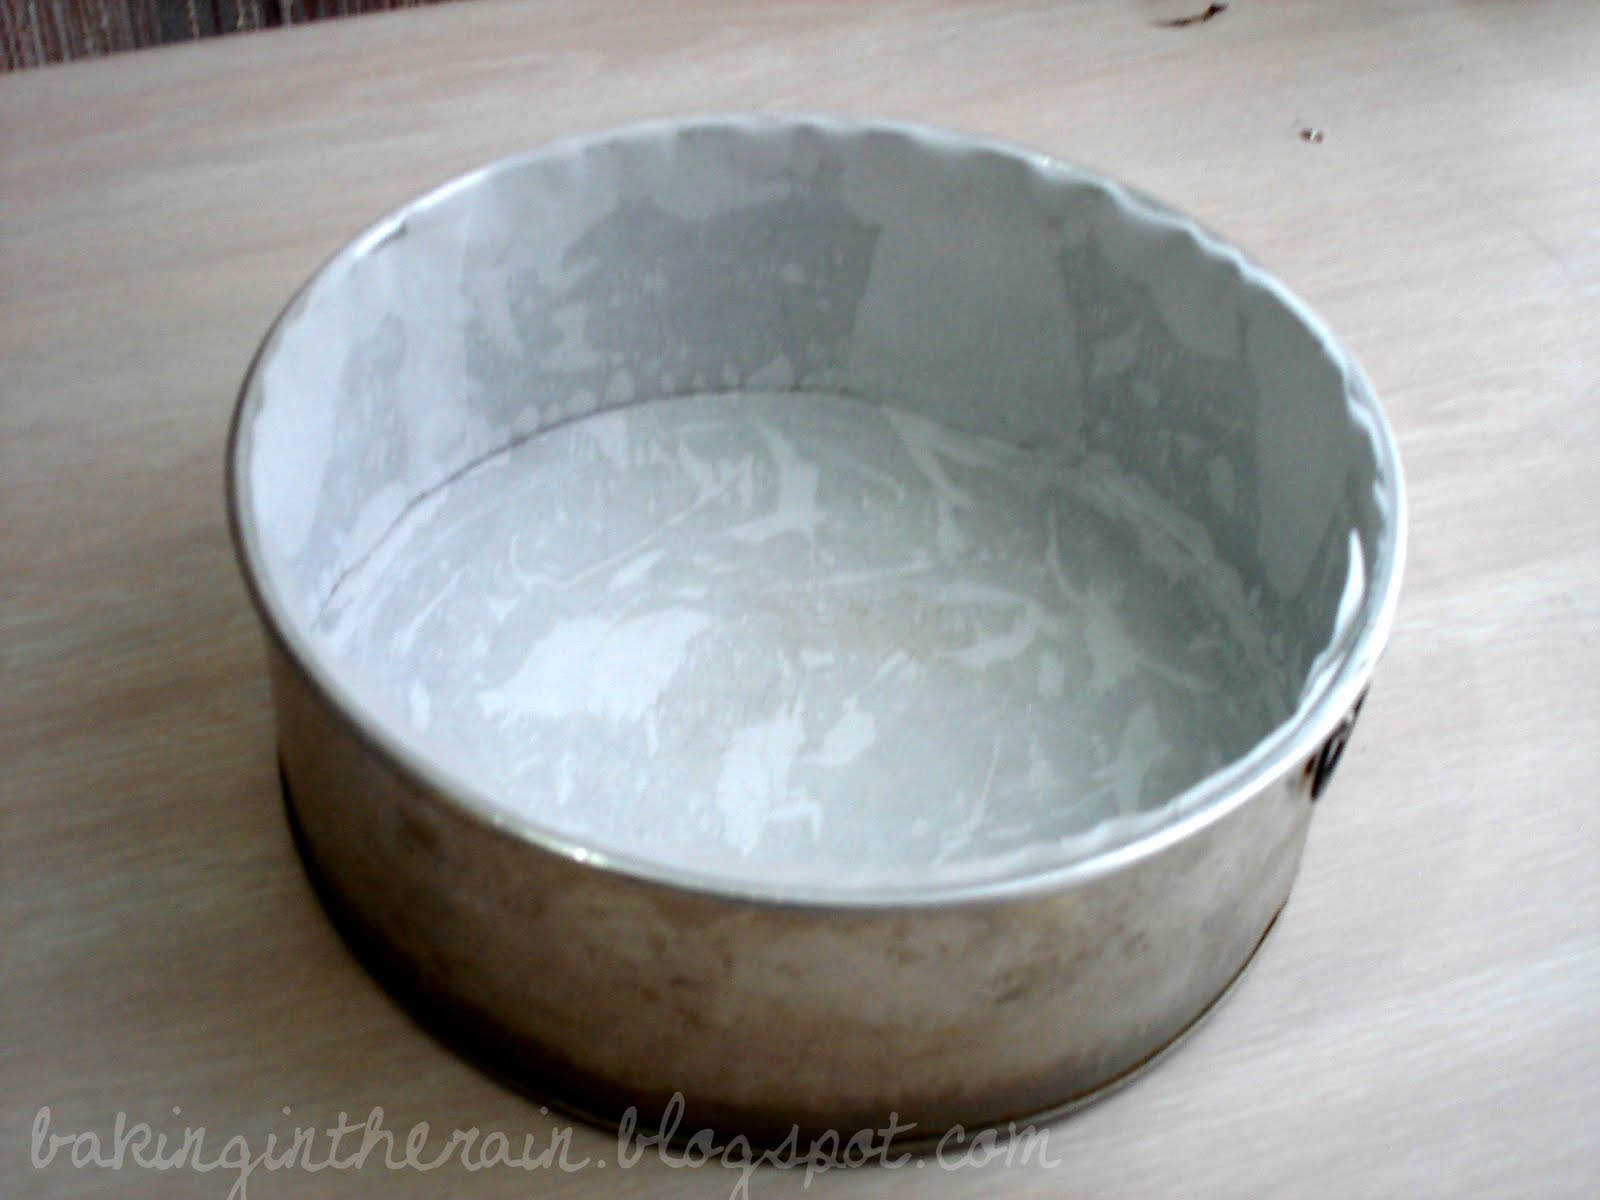
 So here are my tips: do use a springform pan to save yourself a lot of trouble and tears, and make sure you melt the cream cheese well, as any lumps that remain will sink to the bottom of the cake and get in the way of the desired smooth texture.
Japanese Style Cheesecake
adapted from Diana's Desserts
250 g/9 oz cream cheese
50 g/2 oz butter
100 mL milk
6 large eggs, separated
60 g/2 oz cake flour
20 g/1 oz cornstarch
140 gr/5 oz granulated sugar
1 tbsp lemon juice
1/4 tsp cream of tartar
1/4 tsp salt
Prepare a 8" round baking pan by greasing and lining it with parchment paper.
Preheat the oven to 325ºF.
Melt cream cheese, butter and milk in a double boiler until there are no lumps. Then cool this cream mixture by placing the bowl/pot in another bowl filled with cold water.
In a medium bowl, add cream of tartar to the egg whites. Whisk until the whites are foamy. Add the sugar, and whisk again until the soft peak stage is achieved.
To the cream mixture, mix in egg yolks, salt, and lemon juice. Then gently sift the flour and cornstarch into this mixture.
Add the flour mixture into the egg whites gradually, and mix gently until everything is combined.
Pour the batter into the prepared pan.
Prepare a bain-marie and place the cake pan in it; I used a large pan and filled it with enough water to make the cake pan float.
Bake in the preheated oven for 1 hour and 10 minutes or until the top is golden brown.
Take out the cake pan from the bain marie and cool the cake completely in the pan on a metal rack before serving.
Monday, July 26, 2010
My Favourite Chocolate Chip Cookies
Wow, I didn't realize a whole month has gone by without a new post! I've been kept busy by summer school, and the weather has been very hot lately, so I've been lazy. But now I'm back, sort of!
Over the past year, I've made more cookies than anything else. This is partly because I used to bake often at my boyfriend's residence on campus, and since his kitchen was small and lacking in appliances (an electric mixer, amongst other things), I had to resort to making something simple and effortless.
Most of the time I made variations of chocolate chip cookies because we didn't ever get sick of them, and it was fun to try different textures of cookies. Some turned out utterly delicious, like these crispy salted oatmeal white chocolate cookies and these super awesome peanut butter cookies, but they are not true chocolate chip cookies (or CCC henceforth). In fact, I didn't find any CCC recipes that I really loved during those times I spent baking at my boyfriend's place, even though I tried a bunch.

After a while, the boyfriend moved out, I stopped baking cookies and moved on to more complicated things, the boyfriend moved out, and summer vacation started. Cookies were pretty much forgotten since there were many other more challenging treats that I wanted to bake. Then a few months later, my boyfriend's roommate, who was starting to bake CCC's, was looking for a new recipe to try. I looked around and found this recipe for him. To cut the story short, he made them, I couldn't stop eating them, and the next day, I made my own batch. That's how much I love these cookies! Please do give them a try, and if you love cookies with crispy exterior and chewy interior as much as I do, try the other 2 recipes I linked above, too. I think the crispy+chewy combination is my new favourite texture forin cookies!

Over the past year, I've made more cookies than anything else. This is partly because I used to bake often at my boyfriend's residence on campus, and since his kitchen was small and lacking in appliances (an electric mixer, amongst other things), I had to resort to making something simple and effortless.
Most of the time I made variations of chocolate chip cookies because we didn't ever get sick of them, and it was fun to try different textures of cookies. Some turned out utterly delicious, like these crispy salted oatmeal white chocolate cookies and these super awesome peanut butter cookies, but they are not true chocolate chip cookies (or CCC henceforth). In fact, I didn't find any CCC recipes that I really loved during those times I spent baking at my boyfriend's place, even though I tried a bunch.

After a while, the boyfriend moved out, I stopped baking cookies and moved on to more complicated things, the boyfriend moved out, and summer vacation started. Cookies were pretty much forgotten since there were many other more challenging treats that I wanted to bake. Then a few months later, my boyfriend's roommate, who was starting to bake CCC's, was looking for a new recipe to try. I looked around and found this recipe for him. To cut the story short, he made them, I couldn't stop eating them, and the next day, I made my own batch. That's how much I love these cookies! Please do give them a try, and if you love cookies with crispy exterior and chewy interior as much as I do, try the other 2 recipes I linked above, too. I think the crispy+chewy combination is my new favourite texture forin cookies!

Thin and Crispy Chocolate Chip Cookies
recipe from Cookie Madness
yields ~25-30 cookies
4 oz/114 gr cool unsalted butter
1/4 cup sugar
3/4 cup firmly packed brown sugar
1/4 tsp vanilla
1 large egg
1 cup + 2 tbsp all-purpose flour
1/2 tsp baking soda
1/2 tsp salt
1 cup chocolate chips (adjust amount to taste)
Beat the butter until creamy. Beat in both sugars and vanilla. When the mixture is fully combined and creamy, add the egg. After the egg is incorporated, add the baking soda and salt. Stir mixture gently until everything is mixed well.
Add the flour and stir until it is almost all blended in, and then add the chocolate chips. Keep stirring until all the flour is mixed in. Chill the dough for at least 30 minutes.
Preheat the oven to 350ºF, and line a baking sheet with parchment paper.
Roll the dough into small ping pong-sized balls and place them on the baking sheet, leaving a small space in between for the cookies to spread during baking. Bake for about 12 minutes or until the edges are golden brown.
Let the cookies cool on a metal rack, and get a glass of milk ready!
Subscribe to:
Posts (Atom)